Introduction
- Armitage is the GUI based tool for Metasploit , that shows the targets , exploits in the framework.
Features of Armitage
- With Armitage you can scan all the alive host on the network .
- Armitage recommends exploits and will optionally run active checks to tell you which exploits will work.
- If these options fail, use the Hail Mary attack to unleash Armitage's smart automatic exploitation against your targets.
- When you successfully exploit the target ,
With the click of a menu you will escalate your privileges, log keystrokes, browse the file system, and use command shells.
- Latest Metasploit framework 4.3 or above
- Oracle Java 1.7
Step 1 : Open armitage on Backtrack 5.
- Click on Backtrack > Exploitation Tools > Network Exploitation Tools > Metasploit Framework > armitage
- See the below image for more details how to open armitage n Backtrack 5 r2.

Step 2 : Connect Armitage
- Click on the connect Button .
- See the below image for more details -

Step 3 : Connecting Armitage
- It takes few minutes to connect . So have some patience.

Step 4 : Armitage Window
- Here is your armitage window shown below -

- Armitage has 3 panels : -
- TARGET PANEL : It represents the computer ip address and other information .
- MODULE PANEL: It shows the auxiliary,exploit,payload and post.
- TABS PANEL :
Armitage opens each dialog, console, and table in a tab below the module and target panels. Click the X button to close a tab

Step 5 : Find the alive host on the Network
- In this step we have to search for the host .
- Under the Nmap Scan, select the option > Quick Scan (OS detect)
- See the below image for more details .

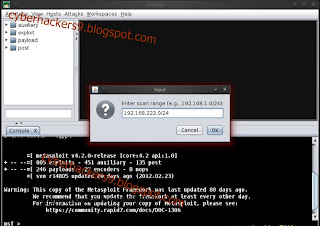
- Here you have to enter the scan range .
- Here 192.168.222.0/24 this is class C range.
- Example image shown below -
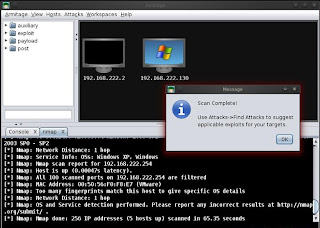
- Your Scan is complete now .
- If the nmap scan find the alive host , then it will be shown on your Target Panel .(As shown Below )
- See the below image for more details -
Step 6 : Finding Attacks
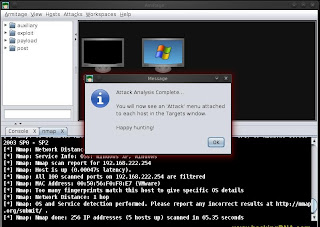
- Click on the Attacks > Find Attacks .
- It will find the most suitable attack for host shown in the Target Panel.
- See the image shown below -

- When attack analysis finished , it informs with a message shown in the image below -
Step 7 : Set the vulnerebility
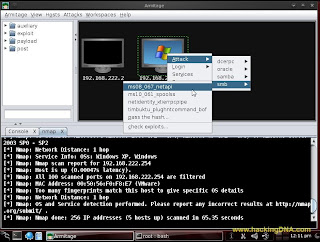
- Right click on the host
- Click on smb
- Select the ms08_067_netapi vulnerebility .
- Click on the checkbox - Use a reverse connection .
- Now click on the Launch Button .
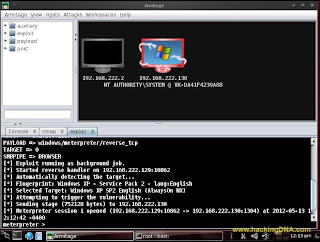
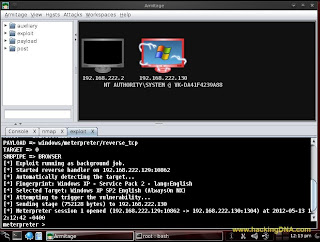
Step 8 :
- If the target host is vulnerable then its color changes to red .That means we can attack into the computer system.


No comments:
Post a Comment